
Concrete is known for its strength and long lifespan, but that durability only comes when it is installed the right way. A properly finished slab—whether it’s a driveway, patio, sidewalk, or foundation—should look smooth, stable, and well-structured. However, if mistakes happen during installation, they may not show immediately and can slowly turn into cracks, sinking areas, or drainage issues over time.
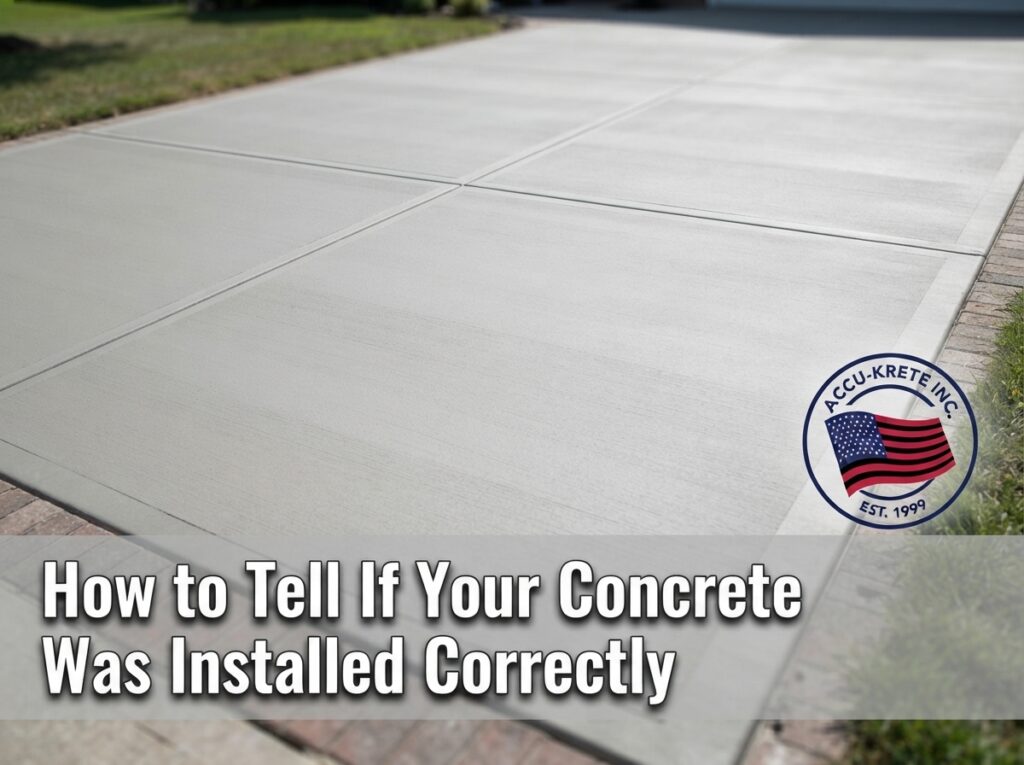
That’s why it’s important to understand the early signs of good workmanship. Even if your concrete looks fine on the surface, proper installation involves correct leveling, reinforcement, curing, and finishing techniques. In this guide, we’ll walk you through the key indicators of correctly installed concrete so you can quickly spot quality work and avoid expensive repairs later on.
Why Proper Concrete Installation Matters
Concrete installation involves much more than mixing cement and pouring it into place. Every stage—from preparing the base and reinforcing the slab to finishing and curing the surface—affects how well the concrete performs over time. Even high-quality concrete can fail prematurely if proper installation practices are ignored.
Correct installation provides several long-term benefits, including:
- Increased structural strength and stability
- Better resistance to cracking and settlement
- Improved drainage that prevents standing water
- Longer lifespan with fewer maintenance costs
- Enhanced appearance and property value
Poor workmanship, on the other hand, often leads to early deterioration. Uneven settling, surface scaling, moisture damage, and premature cracking usually indicate problems that occurred during installation rather than normal wear and tear.
Signs Your Concrete Was Installed Correctly
A professionally installed concrete surface should perform just as well as it looks. While every concrete project is unique, quality workmanship follows proven installation practices that improve durability, strength, and long-term performance.
Whether you have a new driveway, patio, sidewalk, or foundation, several visible signs indicate the concrete was installed correctly. Knowing what to look for can help you identify quality construction early and detect potential problems before they require costly repairs.
A properly installed concrete slab typically includes the following characteristics:
- Smooth, even surface with no major bumps, dips, or rough finishing marks.
- Proper drainage that prevents standing water and directs moisture away from buildings and foundations.
- Consistent color and texture across the entire slab after the concrete has fully cured.
- Well-spaced control joints that help minimize random cracking caused by natural concrete shrinkage.
- Minimal cracking or chipping, with no significant structural damage appearing shortly after installation.
- Strong, clean edges and corners that show careful finishing and proper curing techniques.
- Stable, level appearance with no signs of sinking, settlement, or uneven sections.
- Uniform surface finish that reflects professional workmanship and attention to detail during installation.
These indicators provide a strong foundation for evaluating the overall quality of your concrete installation. In the following sections, we’ll take a closer look at each sign and explain why it matters for the long-term durability and performance of your concrete.
How to Inspect Your Concrete Step-by-Step
Even if you are not a concrete professional, performing a basic inspection can help you determine whether your concrete was installed correctly. A careful visual examination combined with a few simple tests can reveal common installation problems before they become expensive repairs. By following a systematic inspection process, homeowners can evaluate surface quality, drainage, joint placement, and overall workmanship with greater confidence.
Start With a General Visual Inspection
Begin by walking around the entire concrete surface during daylight when imperfections are easier to see. Observe the slab from multiple angles and look for uneven areas, visible cracks, chipped edges, discoloration, or rough finishing. A professional installation should present a clean, consistent appearance throughout the entire project.
Pay special attention to locations where different concrete sections meet, such as driveways connecting to sidewalks or patios adjoining foundations. These transition areas often reveal settlement or finishing issues earlier than the rest of the slab. Recording any noticeable changes with photos also makes future comparisons easier.
Check the Surface for Levelness
Stand at one end of the slab and visually inspect the surface to identify any noticeable dips, waves, or raised sections. A properly finished concrete slab should appear flat and balanced without significant height differences that could affect drainage or create tripping hazards.
For a more accurate inspection, place a long straight board or construction level across different sections of the concrete. Large gaps beneath the straight edge may indicate uneven finishing or settlement that should be evaluated further before the problem worsens.
Test Water Drainage
Spray water across several sections of the concrete using a garden hose or observe the slab after a rainfall. Watch how quickly the water flows toward the intended drainage direction. Properly installed concrete should allow water to move naturally without remaining trapped on the surface.
If puddles remain in the same locations long after surrounding areas have dried, the slab may have been improperly graded during installation. Poor drainage can eventually contribute to staining, surface wear, and moisture-related damage, making this one of the most important inspection steps.
Inspect the Control Joints
Examine each control joint carefully to ensure it is straight, evenly spaced, and free from excessive crumbling or separation. Well-cut joints should appear clean and continuous across the slab while maintaining a consistent depth.
Look for cracks that extend beyond the control joints into random areas of the concrete. While minor movement within the joints is expected, uncontrolled cracking elsewhere may indicate that the joints were improperly placed or that installation practices were inadequate.
Examine the Edges and Corners
Edges and corners are among the most vulnerable parts of any concrete slab because they receive greater stress from traffic and environmental exposure. Inspect these areas for chipping, crumbling, broken sections, or signs of weak finishing.
Strong, clean edges usually indicate proper finishing techniques and adequate curing. If corners begin deteriorating shortly after installation, it may suggest that the concrete mixture, finishing process, or curing conditions were not properly managed during construction.
Continue Monitoring Over Time
Concrete continues curing and responding to seasonal temperature changes long after installation. Inspect the surface periodically during the first year to identify any new cracks, settlement, drainage changes, or surface deterioration that may develop over time.
Regular monitoring allows small issues to be addressed before they become major structural repairs. Keeping the surface clean and documenting any noticeable changes also helps determine whether normal aging is occurring or whether professional evaluation is needed.
Common Concrete Installation Mistakes Contractors Make
Even experienced contractors can make mistakes if proper procedures are rushed or overlooked. While some minor imperfections are cosmetic, installation errors involving the concrete mix, foundation, curing process, or finishing techniques can significantly reduce the slab’s strength and lifespan. Understanding these common concrete installation mistakes helps homeowners recognize warning signs early and ask the right questions before accepting a completed project.
Incorrect Water-to-Cement Ratio
The water-to-cement ratio is one of the most important factors affecting concrete strength. Adding too much water may make the mixture easier to pour and finish, but it also weakens the concrete by increasing its porosity. Excess moisture creates more air pockets as the concrete dries, making the finished slab more susceptible to cracking, scaling, and surface wear over time.
Using too little water can also create problems because the concrete may not hydrate properly, making it difficult to place and finish evenly. Professional contractors carefully measure the correct ratio based on the project requirements, weather conditions, and concrete mix design. A properly balanced mix produces stronger, more durable concrete that resists damage for many years.
Poor Base Preparation
A concrete slab is only as strong as the foundation beneath it. Before any concrete is poured, the soil should be properly excavated, compacted, and prepared with a stable base material such as crushed stone or gravel. Without adequate support, the slab may settle unevenly, leading to cracks, sinking sections, and drainage issues.
Poor base preparation is one of the leading causes of premature concrete failure. Soft soil, organic material, or loose fill beneath the slab can shift over time as moisture levels change. Professional contractors spend considerable time preparing the base because a stable foundation helps distribute weight evenly and prevents future structural problems.
Rushed or Improper Curing Time
Concrete does not reach its full strength immediately after it is poured. The curing process allows cement particles to hydrate gradually, creating a strong and durable structure. If curing is rushed or interrupted, the concrete may dry too quickly, reducing its overall strength and increasing the risk of surface cracking.
Proper curing often involves maintaining adequate moisture, protecting the slab from excessive heat or wind, and allowing sufficient time before heavy traffic is introduced. Contractors who remove curing protection too early or allow vehicles onto the slab prematurely can unintentionally compromise its long-term durability.
Wrong Timing for Finishing Techniques
Proper timing is essential during the concrete finishing process because it directly affects the surface strength, appearance, and long-term durability. Beginning the finishing work too early or waiting too long can create defects that reduce the quality of the completed slab. Experienced contractors carefully monitor the concrete’s setting time before starting each finishing step.
Common problems caused by poor finishing timing include:
- Trapped surface moisture that weakens the top layer of the concrete.
- Scaling and flaking caused by finishing while excess bleed water is still present.
- Surface dusting due to improper finishing techniques.
- Uneven or rough texture that affects both appearance and durability.
- Difficulty creating a smooth finish when the concrete begins hardening too quickly.
- Poorly formed edges and control joints if finishing is delayed beyond the ideal setting time.
Skipping Control Joints
Control joints are intentionally placed cuts that allow concrete to crack in controlled locations as it naturally shrinks during curing. Some inexperienced contractors skip this step to save time or reduce labor costs, but doing so greatly increases the chance of random cracking throughout the slab.
Properly spaced control joints help relieve internal stress caused by shrinkage and temperature changes. They should be installed at the correct depth and spacing based on the slab’s dimensions and thickness. A concrete surface without adequate control joints may develop unpredictable cracks that affect both its appearance and structural integrity.
How Long Should You Wait Before Judging the Installation?
It is important not to judge a concrete installation too soon. Although fresh concrete begins to harden within the first day, it continues to cure and gain strength for several weeks. During this period, slight color variations, minor surface marks, and moisture differences are often part of the normal curing process.
Most concrete reaches about 70% of its design strength within the first week, but it generally requires 28 days to achieve its intended strength under proper curing conditions. Waiting until the curing process is complete allows you to accurately evaluate the surface finish, drainage, cracking, and overall workmanship.
| Time After Installation | What to Expect | Should You Judge the Quality? |
| 24–48 Hours | Surface begins to harden; color may still vary. | No. Concrete is still very fresh. |
| 3–7 Days | Concrete gains strength, but curing continues. | Only perform a basic visual inspection. |
| 7–14 Days | Surface appearance becomes more consistent. | Check for obvious defects, but avoid final conclusions. |
| Around 28 Days | Concrete reaches most of its design strength and finishes curing. | Yes. This is the best time to fully evaluate the installation quality. |
What to Do If Your Concrete Was Installed Incorrectly
If you notice significant cracks, poor drainage, uneven settling, or other installation defects after the concrete has fully cured, it is important to take action quickly. Ignoring early warning signs often allows minor problems to become much larger and more expensive to repair. A proper evaluation helps determine whether the issue is cosmetic or indicates a structural problem caused by improper installation.
Document Every Visible Problem
Start by carefully documenting every issue you observe. Take clear photographs of cracks, chipped edges, standing water, uneven surfaces, discoloration, or any other visible defects from multiple angles. If possible, record when the problem first appeared and whether it has become worse over time.
Keeping detailed records provides valuable evidence if you need to discuss repairs with the contractor or file a warranty claim. Measurements of crack width, notes about drainage problems, and photos taken over several weeks can help demonstrate whether the condition is changing.
Contact the Contractor and Request an Inspection
Once you’ve documented the issues, contact the contractor who completed the project and request a professional inspection. Reputable concrete contractors often stand behind their workmanship and may repair installation-related defects if they are covered under the warranty agreement.
If the contractor disagrees with your concerns or the damage appears severe, consider hiring an independent concrete inspector or structural engineer. An unbiased evaluation can identify the root cause of the problem and recommend the most appropriate repair solution before additional damage develops.
Conclusion
Proper concrete installation is the foundation of a durable, long-lasting surface that can withstand years of daily use and changing weather conditions. From a smooth finish and properly spaced control joints to effective drainage and adequate curing, every step in the installation process contributes to the concrete’s overall performance. By understanding the signs of quality workmanship and recognizing common installation mistakes, homeowners can confidently evaluate newly completed concrete projects.
Regular inspections after installation help identify small issues before they become costly structural repairs. Whether you’re investing in a new driveway, patio, sidewalk, or foundation, choosing an experienced contractor and following proper installation practices are the best ways to maximize durability, reduce maintenance costs, and protect your investment for decades.
Frequently Asked Questions
How long does it take for concrete to fully cure?
Concrete continues gaining strength over time and typically reaches its full design strength after about 28 days, although light foot traffic is usually safe within 24 to 48 hours.
Is it normal for new concrete to have hairline cracks?
Yes. Small hairline shrinkage cracks can occur during the normal curing process, but wide or expanding cracks may indicate installation or structural issues.
Can bad concrete installation be fixed without replacing it?
Minor problems such as surface scaling, small cracks, or drainage issues can often be repaired, while severe settlement or major structural defects may require partial or complete replacement.
What is the average lifespan of properly installed concrete?
Properly installed and well-maintained concrete can last 30 to 50 years or more, depending on climate, usage, and routine maintenance.
How do I know if my contractor used the right concrete mix?
Signs of a proper concrete mix include a consistent surface, good strength, minimal early cracking, uniform texture, and durable long-term performance. You can also request the concrete mix specifications from your contractor.
What is the checklist for concrete inspection?
A basic concrete inspection should include checking the surface finish, drainage, control joints, cracks, edges, color consistency, slope, and any signs of settlement or premature damage.
Professional Concrete Services in Orlando, FL
Accu-Krete provides reliable concrete installation, repair, decorative concrete, patios, driveways, and sidewalk solutions for homeowners and businesses across Orlando and nearby areas.